As someone who loves words and appreciates art, I’m so glad I get to combine the two to create lettering to share with others! [Let this be a lesson to you dreamers out there: dream jobs exist with some hard work behind it.]
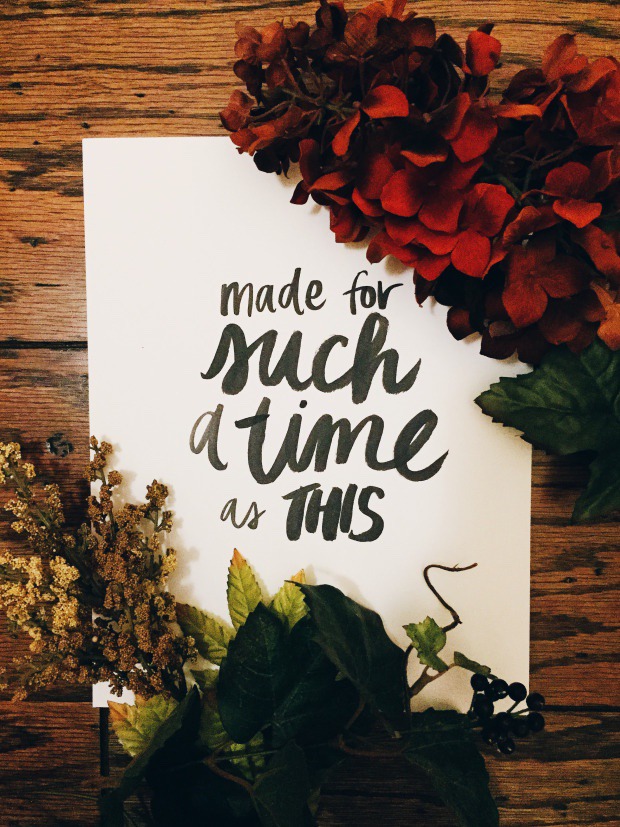
Brush lettering has become one way I can showcase my creativity, as well as a way to share inspiring, thought-provoking, and (occasionally) funny words and quotes with others, especially on Instagram. Before I began lettering and putting it out there for the world to see, I made it my mission to use it as a source of good and encouragement. Knowing that Instagram is such a fast-paced platform, I desired for my lettered posts to make people want to stop for a second, read, and become motivated or have a laugh! You just never know what people might be going through. I wanted the words I lettered to speak to others and brighten their day a little. I’m so grateful for the opportunity to share my work on Instagram, because these posts have allowed me to connect with others and start conversations, making way for community in an unexpected place!
Now, if you’re reading this, you’re probably either itching to start lettering or you’re already lettering and want to see what another letterer uses to do her thing. Both types of people are totally cool! So, let’s get on with it, shall we? Here are 5 tools I can’t do without:
This is the ink that I use for most of my brush-lettered pieces. I like it for its transparency; it gives me the opportunity to layer on brush strokes for more dimension and textures in my words, if that’s what I’m going for; it’s buildable. Also, it’s not viscous or thick, like some other inks I’ve tried. It glides on smoothly on paper and doesn’t mess up the bristles on my brushes.
These seem a little trivial, but I can’t live without them. These jars are mainly for my inks. Rather than dipping my brushes straight into the actual ink bottles, I like to separate the ink into smaller jars for mixing purposes. Because I’m constantly dipping my brush into water to cleanse it, I don’t want there to be any chance of excess water entering the original bottles of ink and compromising the pure form of the medium. So, protect your ink and try these!
- Computer paper
I’m all about being smart with your resources, and I’ve found that computer paper will do the job while brush lettering to my heart’s content! One of the downfalls of using standard computer paper is that it’ll crinkle if you’ve got a lot of ink or water on your brush since it’s so thin. But for the most part, computer paper can take on your ink, water, and lettering! Also, while you’re lettering, you’re going to be practicing and brainstorming a lot, which means you’re gonna use a lot of paper. Don’t make me stop you from going out and trying out different pads of paper from your local art store, because experimenting is fun, but using computer paper will be easy on the wallet.
When creating, experiment, experiment, experiment!! Especially with your brushes. But try to not go for low quality brushes. The hairs on low quality brushes won’t produce the best or smoothest results. You kinda get what you pay for in this area, although, I have used some cheaper brushes that worked well for me, such as the Loew-Cornell brushes from Michael’s. Right now, I’m using the Sakura Koi Water Brush, brushes from the Winsor & Newton University series, as well a number 000 from the Winsor & Newton Cotman series, but my most favorite brush to use is the Winsor & Newton University series, size 0. The hairs are smooth, and it produces the boldness that I want in my lettering. I like going to Hobby Lobby to buy brushes since I can use their 40% off coupon, but dickblick.com has tons of brushes to choose from with great prices.
This last one is for people who want to digitize their lettering to use for graphic design work or to sell prints. After lots of research, I settled on getting the Epson Perfection V600, because I wanted a scanner that would last and produce great results, especially since I’m thinking of creating and selling prints in the future. This scanner is in the pricier range, but I’ve heard that HP scanners work well for scanning too! If you’re interested in digitizing your work, do your research and find out which scanner works best for your needs and budget. But if you’re not in a place to invest in a scanner, you could even use your phone to scan your work! I’ve got the CamScanner app on my phone so I can make quick scans of lettering projects when I’m on the go. It doesn’t work too well for brush-lettered work because it captures the ink weird, but it works amazingly for lettering done with pens!
I hope my list gets you started on your lettering journey or provides a worthwhile resource to add to your list of things to try.
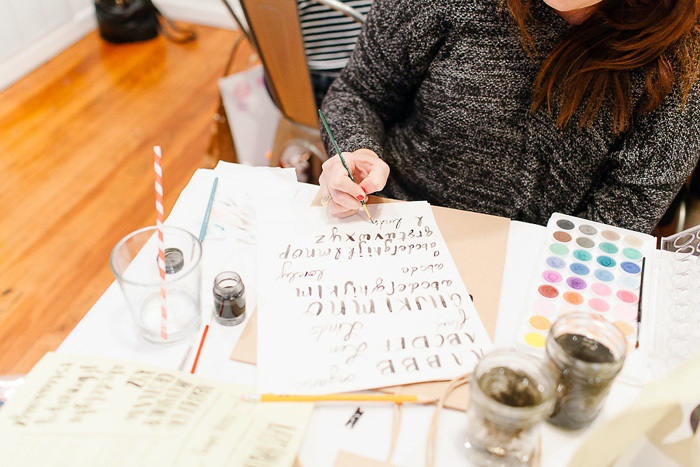
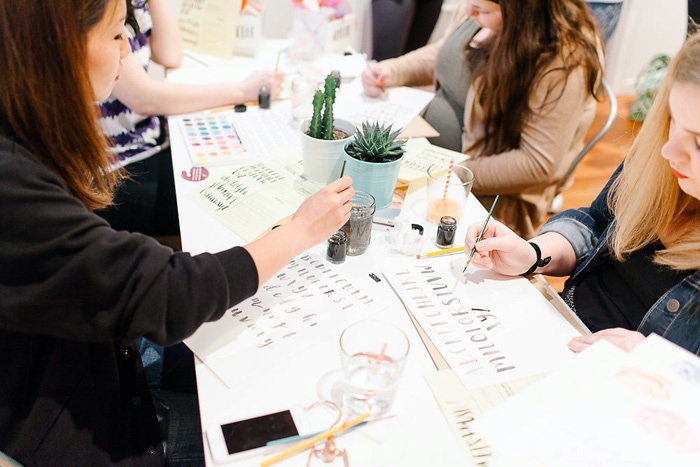
_Photos by Kelsey Lemons from one of Esther’s recent workshops. _